2026 Author: Howard Calhoun | [email protected]. Last modified: 2025-06-01 07:12:56
In the article we will consider the instructions for installing the 1C: Enterprise server in the office. The option of installing 1C in a client-server form is the most suitable. But first you need to understand what a client-server architecture is. After that, we will tell you in which cases it makes sense to implement this architecture, and most importantly, how to do it correctly. If you are faced with the installation for the first time, then our material will be very useful to you.
What is client-server architecture
It is worth noting that 1C in all cases works as a client-server. But there is a so-called file option, in which all work takes place exclusively on local computers. At the same time, the system itself divides the entire computer memory into conditional-server and conditional-client. In this case, it uses its own built-in database management system. It has one drawback - smallspeed and low stability.
When working in the client part, requests to 1C are generated, after which they are transferred to the conditional server part, where processing takes place. The results of this processing are sent back to the conditional client part. In fact, this is a server version of the system, but it is commonly called a file system. As you can see, there is subtlety, but it is small. In general, it is much better to use the server version of the software, as it is much more stable and allows more clients to work with the same database at the same time.
As for the client-server version, third-party software systems are used for the proper functioning of the database. These are MS SQL, Oracle, DB, DB2, PostgreSQL. It is worth noting that third-party control systems are considered more powerful than built-in ones. At the same time, the best performance is ensured, and most importantly, the security of databases is significantly increased.
We will consider exactly the installation of a client-server architecture on MS SQL. This is the best option for the correct operation of 1C. When installing PostgreSQL 1C server, it becomes necessary that the databases be indexed frequently. Oracle has a lot of problems with ordering data in the database. DB2, when compared to competitors, is limited in number length.
Do I need to transfer the database to the server version
In the event that no more than 7 people work with one database, and its size is rather small, then it is quite enoughwill use the file variant. But if at the same time from 8 to 12 people work with one database, and its volume is up to 4 GB, then it is best to use the client-server version. In this case, much will depend on personal perception when working with the database. Problems may arise if there are a large number of concurrent resource requests.
The issue is that during work, each user accesses registers, and access to them may be blocked for other workers. Therefore, they will be queued when attempting to access a register that has been locked. 1C freezes at the same time.
In the event that the system freezes with a large number of calls, it is necessary to modernize the architecture, use a more advanced type. If more than 15 people work with the database, and its total size is more than 4 GB, then you should not even think about installing the file system. Immediately you need to install the client-server version 1C.
Installation: basic steps
Steps to follow when deploying a client-server: installing MS SQL on the server:
- Installation on the same server of the 1C platform.
- Installation on all computers of 1C clients. You need to put it only where you need a connection to the database server.
- Creating an infobase in SQL.
We will tell you how 1C is installed on a Windows server, as well as settings, in our article.
Software update
As a servereven any powerful personal computer can be used. But it is best to use the server hardware, as it is much more powerful and will be able to work with requests faster. You will need the SQL distribution to install. Open the folder with it and run the installation file, which will automatically unpack all the necessary resources on your computer.
Please note that the computer must have a NET component. framework. In the event that it is not there, you need to update the operating system. But you can just download the installation file separately and run it. This procedure is completely free, files need to be downloaded only from official sources - from the Microsoft website.
Distribution installation procedure
As soon as you run the database management system distribution installer, you need to enter the license key. Next, you will be asked to read the licensing terms and tick the box that you agree to them. After that, you can move on. When you get to the selection of components, you need to do it right. If you plan to use the management system only for 1C work, check the boxes next to the following components:
- Database Engine service.
- Management Tool.
- Client Tool Connectivity.
As for the rest of the components, they are not needed when working with 1C. They will only take up space on your hard drive. Then click the "Next" button and continue installing the distribution.
FinalDBMS installation
Next, go to the "Sort Options" tab. Be sure to select the Cyrillic_General_CI_AS parameter, which determines the server configuration. You also need to check the "Mixed mode" box in the "Server Configuration" tab.
During installation, you will need to enter the login and password of the super-user (usually the login is SA, and the password is SQL). Here you also need to specify the administrators of this instance of the database management system.
Now go to the "Data directories" tab and choose the location of the user and temporary databases on the drives that have the highest performance. It is advisable to use SSD disks on RAID. Now it remains to click "Next" and proceed with the installation of the distribution. Leave all other settings as default. Once installed, your SQL distribution is fully operational.
Installation on a server computer
Now you can start installing the 1C 8.3 server on Windows and start the services. You will need a distribution kit of the 1C: Enterprise platform. You can use these:
- Technological platform 1C: Enterprise for Windows - the software is installed on computers with a bit depth of 32 bits.
- The version of "Server 1C: Enterprise" can be installed on servers with a bit depth of both 32 and 64 bits.
It is worth mentioning the extended version of "KORP". True, not every company needs the installation of the 1C Enterprise 8.3 server. If necessary,to start the installation, you need to open the directory and run the file called setup.exe.
Software installation procedure
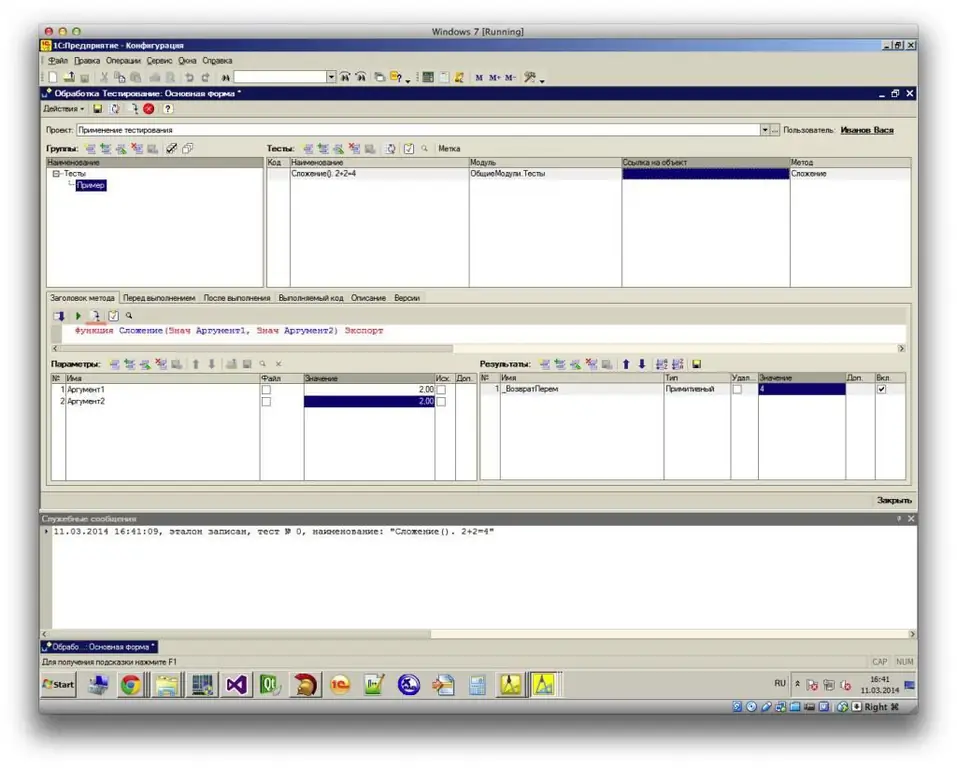
After that, the assistant will start, it remains to follow its prompts. On the very first page, you just need to click "Next", then select the components that you want to install:
- Server administration "1C: Enterprise". Installation instructions will follow.
- Directly server software components.
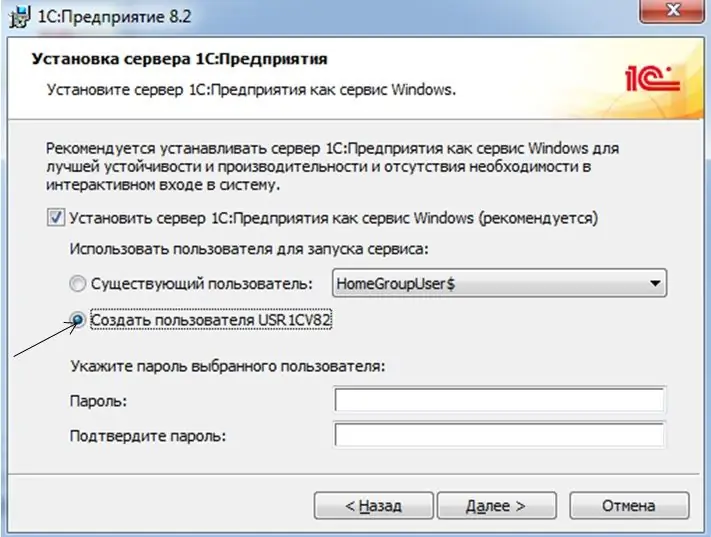
There will be many components in the list, their list varies depending on the version, but you only need to install these two. Choose all the necessary components and proceed to the next step. In the event that the server is installed as one of the Windows OS services, you need to make a point for an individual user. From under it, the service will be launched. To do this you will need:
- Check the box next to "Install server 1C: Enterprise as a Windows service (recommended)".
- Move the switch "Create user USR1CV8" to the desired position.
- Enter the password twice for the user you are creating.
Completing installation
You can also select an existing user in order to launch 1C. But he must have these rights:
- Logging on as a batch job.
- Logging in as a service.
- Performance log users.
You still need to set the rights to the directoriesservice files on the server. The user that is created automatically has all the required privileges by default. Once you're done, click the "Next" button and proceed directly to the installation. This will copy all necessary files to the server.
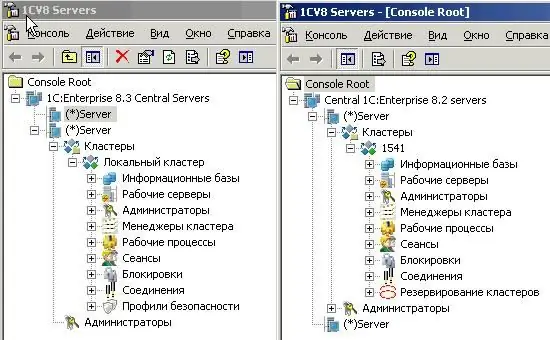
During installation, the assistant will prompt you to install a protection driver. In the event that you use a software license for a 1C server, then you do not need to install this driver. After the installation is successfully completed, you will see the last window with the "Finish" button. Click on it and complete the installation.
Installation on client computers
Now let's look at how to install the software on client computers. Earlier, we considered installing a 1C 8.3 server on Windows. The procedure is almost the same, but there are differences in the details. To install, you need to run the installation file, which is located in the distribution folder. If you click on the "Edit" button, you will have the opportunity to edit the list of components that will be installed. The number of components directly depends on which version of the distribution is used.
Software Components
Description of software components:
- Thin Client - These components are required for normal client-server operation.
- "1C: Enterprise" is the main set of components, including thin and thick clients, configuration and administration elements.
- File version of the thin client -necessary for the normal functioning of the file version of the client.
- Various modules for extending the web server - necessary for the operation of web services and clients.
- Server "1C: Enterprise" (installation of the server 1C 8.2 version is considered in our material, it is done in the same way as version 8.3).
- Language interfaces - user interface for working with different languages.
- Server administration is a set of additional components that allow you to administer 1C server clusters.
- Infobase converter for 1C:Enterprise.
- Configuration storage servers - allow you to save all settings of software components.
When you select the necessary components, click on the "Next" button and install the program.
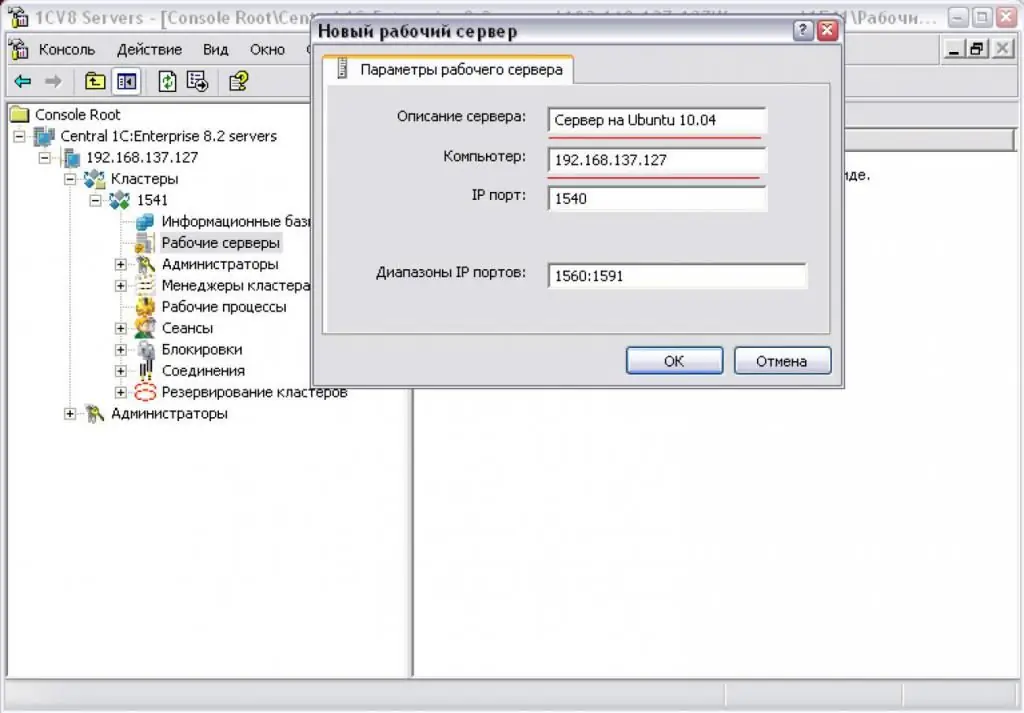
As with the installation of the 1C: Enterprise server, the assistant will offer you to install the protection driver. But it will be required only if the software will use an electronic key installed in the USB connector.
If the installation is successfully completed, you will be taken to the finish window, all that remains is to read the contents of the Readme file (optional) and click on the “Finish” button.
How to add an infobase to the list
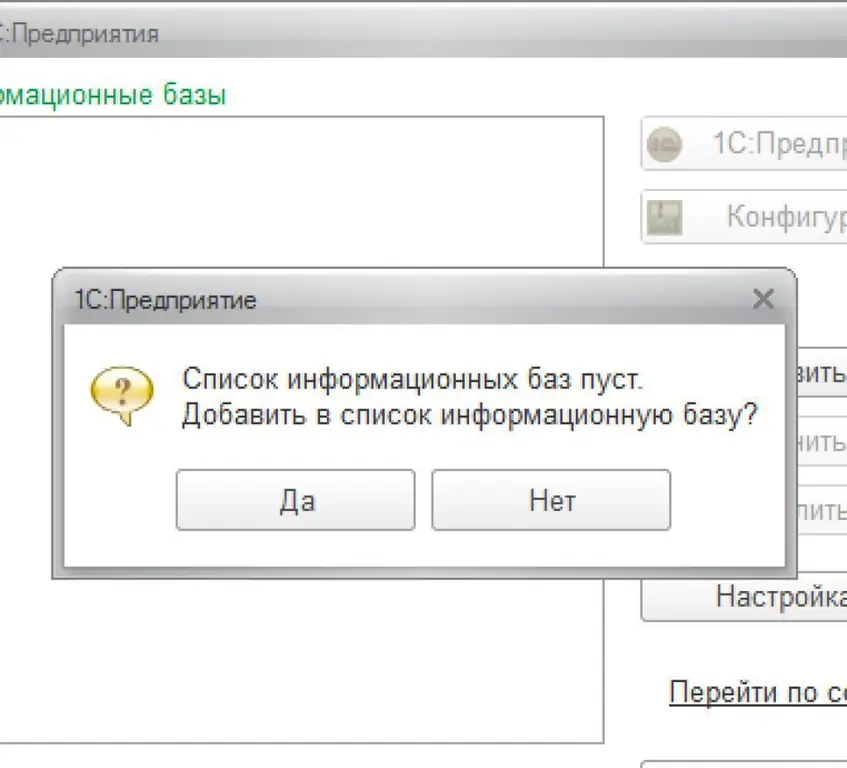
When configuring and installing the 1C: Enterprise server, a shortcut will appear on the desktop to launch the software. When you open it, you will launch the program, but the list of databases will be empty. To youthe program will prompt you to select the desired base:
- If you need to create a new database to keep records, click the "No" button. And first, install a typical template, on the basis of which you will create a database.
- If you have a base, you need to connect to it. In this case, you need to click "Yes" and add the existing database to the list.
Procedure for creating a database
In the SQL version, the database is created in much the same way as in the file version. But there are differences - when choosing the type of database location, you need to specify "On the server". Next, set the parameters necessary for work:
- On the Server Cluster tab, specify the name or address of the server where SQL is installed.
- Specify a name in the "Infobase name" field.
- Specify the type of database management system - SQL.
- Specify the super-user name and password (discussed above).
- If necessary, specify the date offset.
- Be sure to check the box next to "Create a database if it does not exist".
- Press the "Next" button.
That's all, now the database is created and it is located on the server. It can be seen among the available ones and edited.
Initially, the database is empty, it is a kind of framework - a place on the server allocated for data. For filling, you need to use the means of loading/unloading infobases. It is recommended that you specify a maintenance plan after configuration - these are the procedures that SQL should perform according to the schedule. For example, it can make copies at specific times ordelete temporary files.
Recommended:
Quik: setup, installation, step-by-step instructions, features of work

The trading platform plays a very important role in trading. All transactions are made on it. In trading on financial markets, there are different terminals that have their own characteristics and characteristics. This article will talk in detail about the Quick trading platform. The reader will receive information about the correct Quik settings for different trading assets and its installation
Internal and external environments of the enterprise. Analysis of the enterprise environment

The management procedure of any organization is a complex cyclical process that requires a clear understanding. It is important to know not only the stages of production, but also to understand what the internal and external environments of an enterprise are, as well as to determine their degree of influence on business entities
How to make a business page on Instagram: procedure, setup, design and promotion

"Instagram" has recently become increasingly popular, and many use accounts in this social network to conduct their business, as it is a dynamically developing trading platform. The first thing to do in order to start actively selling is to register and follow certain recommendations developed by promotion specialists
Bollinger bands. Description, setup and use of Bollinger Bands

Bollinger Bands is one of the most accurate indicators in the Forex currency market, which can give excellent signals to buy or sell assets. It allows you to accurately determine the overbought and oversold zones
HDPE pipe: do-it-yourself installation, installation features and instructions

When HDPE pipe is installed, the installation is done mainly by welding or compression fittings. If the installation rules are followed, the connections will be airtight and durable for many years

