2026 Author: Howard Calhoun | calhoun@techconfronts.com. Last modified: 2025-01-24 13:10:35
There is practically no industry where welding is not carried out. The vast majority of metal structures are mounted and interconnected by means of welding seams. Of course, the quality of this kind of work in the future depends not only on the reliability of the building, structure, machine or any unit being erected, but also on the safety of people who will somehow interact with these structures. Therefore, to ensure the proper level of performance of such operations, ultrasonic testing of welds is used, thanks to which it is possible to detect the presence or absence of various defects at the junction of metal products. This advanced control method will be discussed in our article.
History of occurrence
Ultrasonic flaw detection as such was developed in the 30s. However, the first really working device was born only in 1945 thanks to Sperry Products. Over the next two decades, the latest control technology gained worldwide recognition, and the number of manufacturers of such equipment increased dramatically.

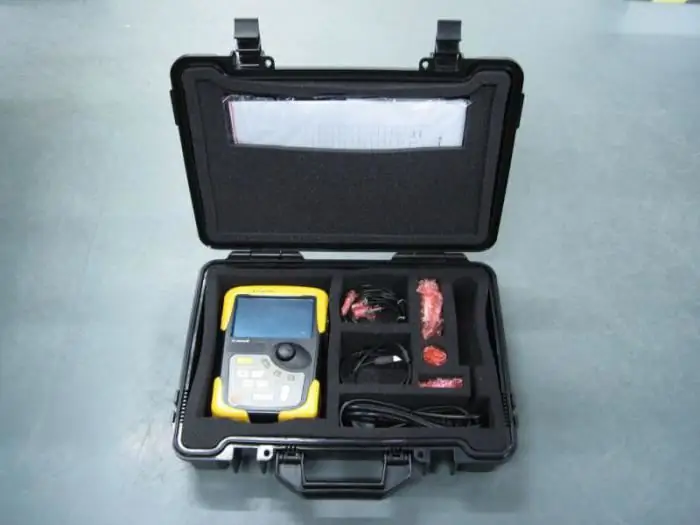
UltrasonicThe flaw detector, the price of which today starts from 100,000 -130,000 thousand rubles, initially contained vacuum tubes. Such devices were bulky and heavy. They worked exclusively from AC power sources. But already in the 60s, with the advent of semiconductor circuits, flaw detectors were significantly reduced in size and were able to operate on batteries, which eventually made it possible to use the devices even in field conditions.
Step into digital reality
In the early stages, the described instruments used analog signal processing, due to which, like many other similar devices, they were subject to drift at the time of calibration. But already in 1984, Panametrics launched the first portable digital flaw detector called the EPOCH 2002. From that moment on, digital units have become highly reliable equipment, ideally providing the necessary calibration and measurement stability. The ultrasonic flaw detector, the price of which directly depends on its technical characteristics and the manufacturer's brand, also received a data logging function and the ability to transfer readings to a personal computer.
In today's environment, there is more and more interest in phased array systems, which use sophisticated technology based on multi-element piezoelectric elements to generate directional beams and create cross-sectional images similar to medical ultrasound imaging.
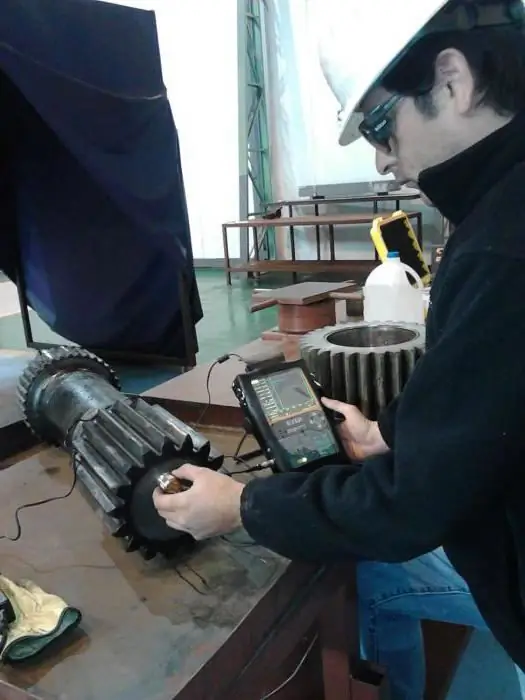
Sphereapplications
Ultrasonic control method is used in any industry. Its use has shown that it can be equally effectively used to test almost all types of welded joints in construction, which have a welded base metal thickness of more than 4 millimeters. In addition, the method is actively used to check the joints of gas and oil pipelines, various hydraulic and water systems. And in cases such as the inspection of thick seams obtained as a result of electroslag welding, ultrasonic flaw detection is the only acceptable method of inspection.
The final decision on whether a part or a weld is fit for service is made on the basis of three fundamental indicators (criteria) - amplitude, coordinates, conditional dimensions.
In general, ultrasonic testing is exactly the method that is the most fruitful in terms of imaging in the process of studying the seam (detail).
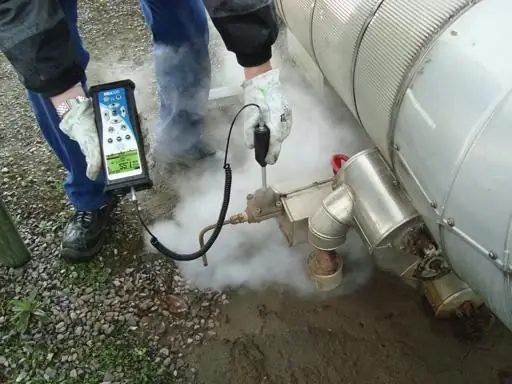
Reasons for demand
The described method of inspection using ultrasound is good in that it has a much higher sensitivity and reliability of indications in the process of detecting defects in the form of cracks, lower cost and high safety in the process of use compared to classical methods of radiographic inspection. To date, ultrasonic testing of welded joints is used in 70-80% of inspection cases.
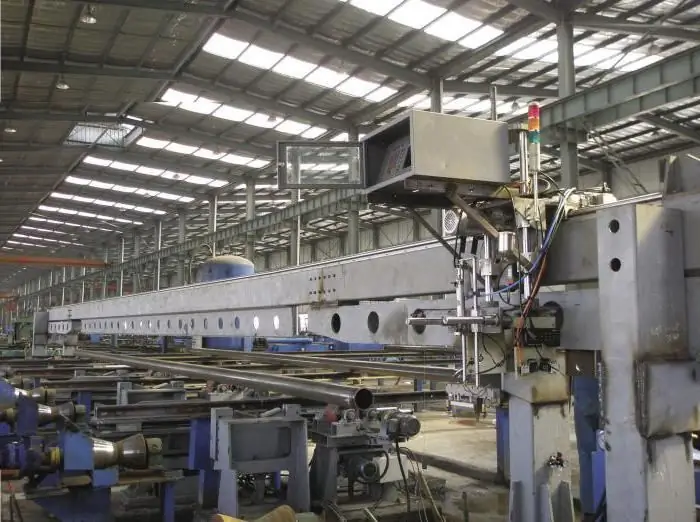
Ultrasonic transducers
WithoutThe use of these devices for non-destructive ultrasonic testing is simply unthinkable. Devices are used to generate excitation, as well as receive vibrations of ultrasound.
Units are different and are subject to classification by:
- The way to create a contact with the test item.
- The method of connecting piezoelectric elements to the electrical circuit of the flaw detector itself and the dislocation of the electrode relative to the piezoelectric element.
- Orientation of the acoustic relative to the surface.
- Number of piezo elements (single, double, multi-element).
- Bandwidth of operating frequencies (narrowband - less than one octave bandwidth, wideband - more than one octave bandwidth).
Measurable characteristics of defects
GOST rules everything in the world of technology and industry. Ultrasonic testing (GOST 14782-86) is no exception in this matter either. The standard specifies that defects are measured by the following parameters:
- Equivalent area of defect.
- Echo signal amplitude, which is determined taking into account the distance to the defect.
- Coordinates of the defect at the welding point.
- Conventional sizes.
- Conditional distance between defects.
- The number of defects in the selected length of the weld or joint.
Flaw detector operation
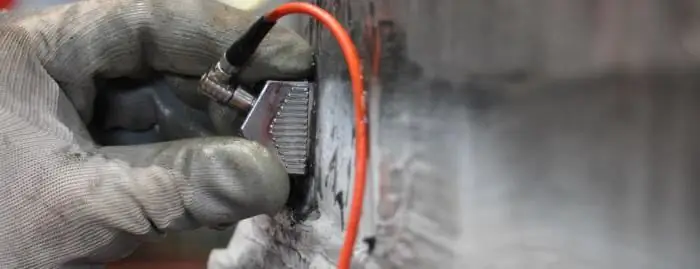
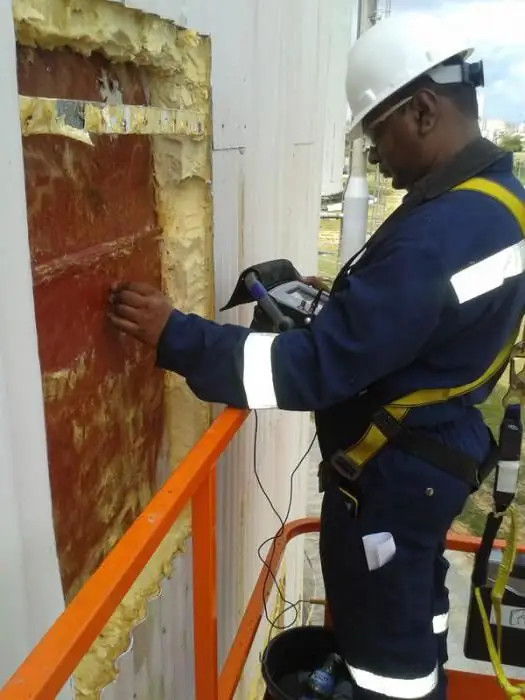
Non-destructive testing, which is ultrasonic, has its own method of use, which states that the main measured parameter is the amplitude of the echo signal obtaineddirectly from the defect. To differentiate echo signals by amplitude, the so-called rejection sensitivity level is fixed. This, in turn, is configured using the enterprise standard template (SOP).
The beginning of operation of the flaw detector is accompanied by its adjustment. For this, rejection sensitivity is set. After that, in the process of ongoing ultrasound studies, the obtained echo signal from the detected defect is compared with the fixed rejection level. If the measured amplitude exceeds the rejection level, experts decide that such a defect is unacceptable. Then the seam or product is rejected and sent for revision.
The most common defects of welded surfaces are: lack of fusion, incomplete penetration, cracking, porosity, slag inclusions. It is these violations that are effectively detected by flaw detection using ultrasound.
Ultrasonic Options
Over time, the inspection process has developed several powerful methods for examining welds. Ultrasonic testing provides for a fairly large number of options for acoustic examination of the considered metal structures, however, the most popular are:
- Echo method.
- Shadow.
- Mirror-shadow method.
- Echo Mirror.
- Delta method.
Method number one
Most often in industry and railway transport, the echo-pulse method is used. It is thanks to him that more than 90% of all defects are diagnosed, which becomes possible due to the registration and analysis of almost all signals reflected from the surface of the defect.
This method itself is based on the sounding of a metal product with pulses of ultrasonic vibrations, followed by their registration.
The advantages of the method are:
- the possibility of one-way access to the product;
- rather high sensitivity to internal defects;
- the highest accuracy in determining the coordinates of the detected defect.
However, there are also disadvantages, including:
- low resistance to interference from surface reflectors;
- strong dependence of the signal amplitude on the location of the defect.
The described flaw detection implies sending ultrasonic pulses to the product by the finder. The response signal is received by him or by the second seeker. In this case, the signal can be reflected both directly from defects and from the opposite surface of the part, product (seam).
Shadow method
It is based on a detailed analysis of the amplitude of ultrasonic vibrations transmitted from the transmitter to the receiver. In the case when there is a decrease in this indicator, this indicates the presence of a defect. In this case, the larger the size of the defect itself, the smaller the amplitude of the signal received by the receiver. To obtain reliable information, the emitter and receiver should be placed coaxially on opposite sidesobject under study. The disadvantages of this technology can be considered low sensitivity in comparison with the echo method and the difficulty of orienting PETs (piezoelectric transducers) relative to the central beams of the radiation pattern. However, there are also advantages, which are high resistance to interference, low dependence of the signal amplitude on the location of the defect, and the absence of a dead zone.
Mirror-shadow method
This ultrasonic quality control is most commonly used to inspect welded rebar joints. The main sign that a defect has been detected is the weakening of the signal amplitude, which is reflected from the opposite surface (most often called the bottom). The main advantage of the method is the clear detection of various defects, the dislocation of which is the weld root. Also, the method is characterized by the possibility of one-sided access to the seam or part.
Echo mirror method
The most effective way to detect vertical defects. The check is carried out using two probes, which are moved along the surface near the seam on one side of it. At the same time, their movement is carried out in such a way as to fix by one probe the signal emitted from another probe and reflected twice from the existing defect.
The main advantage of the method: it can be used to evaluate the shape of defects, the size of which exceeds 3 mm and which deviate in the vertical plane by more than 10 degrees. The most important -use probes with the same sensitivity. This version of ultrasound is actively used to check thick-walled products and their welds.
Delta method
The specified ultrasonic testing of welds uses ultrasonic energy re-radiated by the defect. The transverse wave that falls on the defect is partially reflected specularly, partially transformed into a longitudinal one, and also re-radiates the diffracted wave. As a result, the required PET waves are captured. The disadvantage of the method can be considered the cleaning of the seam, the rather high complexity of deciphering the received signals during the control of welded joints with a thickness of up to 15 millimeters.
Advantages of ultrasound and subtleties of its application
Examination of welded joints using high-frequency sound is, in fact, non-destructive testing, because this method is not capable of causing any damage to the investigated section of the product, but at the same time quite accurately determines the presence of defects. Also, special attention deserves the low cost of the work carried out and their high speed of execution. It is also important that the method is absolutely safe for human he alth. All studies of metals and welds based on ultrasound are carried out in the range from 0.5 MHz to 10 MHz. In some cases, it is possible to carry out work using ultrasonic waves with a frequency of 20 MHz.
Analysis of a welded joint by means of ultrasound must necessarily be accompanied by a whole complexpreparatory measures, such as cleaning the seam or surface under study, applying specific contact liquids to the controlled area (special-purpose gels, glycerin, machine oil). All this is done to ensure proper stable acoustic contact, which ultimately provides the necessary picture on the device.
Unusable and disadvantages
Ultrasonic testing is absolutely irrational to use for examining welding joints of metals with a coarse-grained structure (for example, cast iron or an austenitic weld with a thickness of more than 60 millimeters). And all because in such cases there is a sufficiently large dispersion and strong attenuation of ultrasound.
It is also not possible to unambiguously fully characterize the detected defect (tungsten inclusion, slag inclusion, etc.).
Recommended:
Slaughter of cattle at meat processing plants: rules, technology, methods and methods

Providing the consumer basket with meat products directly depends on the slaughter and processing of cattle. Delicious beef and veal dishes are largely the merit of livestock breeders who know how to properly slaughter bulls and cows. There are various technologies, methods and methods for slaughtering cattle, which make it possible to obtain high quality meat products
Ultrasonic processing: technology, advantages and disadvantages
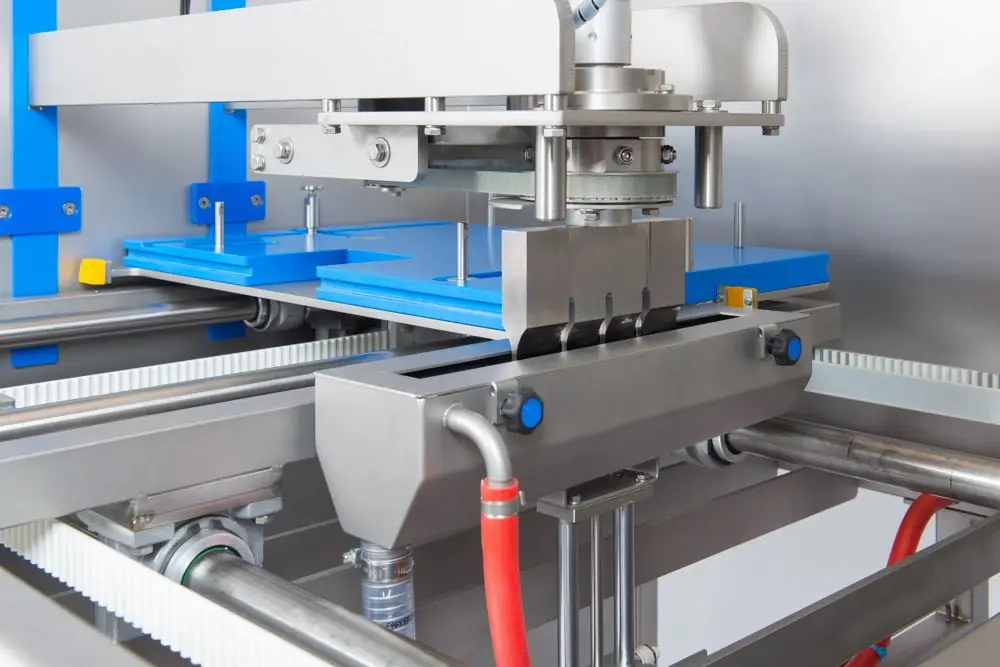
The metalworking industry at this stage of development is capable of solving the complex tasks of cutting and drilling workpieces of varying degrees of hardness. This became possible due to the development of fundamentally new ways of influencing the material, including a wide group of electromechanical methods. One of the most effective technologies of this type is ultrasonic treatment (UZO), based on the principles of electroacoustic radiation
Welding of ultrasonic plastics, plastics, metals, polymeric materials, aluminum profiles. Ultrasonic welding: technology, harmful factors
Ultrasonic welding of metals is a process during which a permanent joint is obtained in the solid phase. The formation of juvenile areas (in which bonds are formed) and the contact between them occur under the influence of a special tool
Welded butt joints: features, types and technology

Features and types of welding. Classification of welded butt joints according to various parameters of the weld. Technology for creating a butt joint, depending on the equipment used. Safety measures when performing welding work
Non-destructive testing of welded joints: equipment, GOST
The article is devoted to methods of non-destructive testing of welded joints. The methods of control allowed by GOST and the equipment used are described

