2026 Author: Howard Calhoun | calhoun@techconfronts.com. Last modified: 2025-01-24 13:10:47
Welding is commonly used in assembly activities to ensure a high degree of connection reliability. In many cases, there is no alternative to thermal fusion, but there are many different techniques for its implementation, not to mention the conditions of work. Accordingly, the methods for checking the quality of the resulting seam also differ. Specialists use non-destructive testing of welded joints, which allows preserving the structure of the material in the joint zone and the performance of the structure as a whole.
Regulatory standards (GOST)
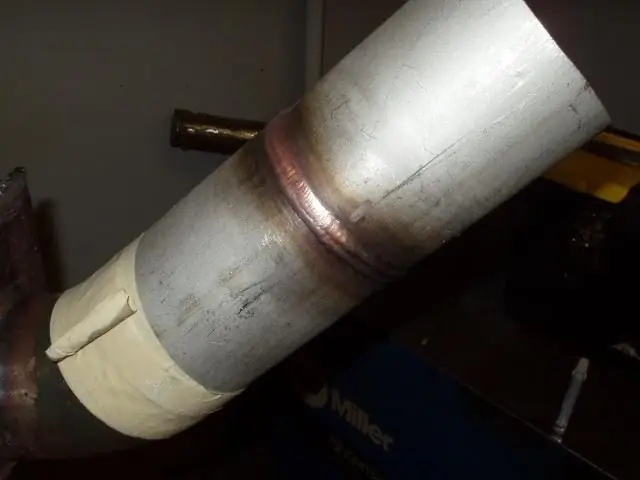
The implementation of non-destructive testing methods is carried out in accordance with established technical standards. Especially for welding, a GOST section is provided under the number 3242-79. Guided by the rules of this section, the master can apply one or another method of control. The standards describe not only the technique for performing the test, but also the equipment. In some cases, a deviation from the requirements provided for by this GOST is also allowed. Non-destructive testing of welded joints in this case focuses on quality assessment methods that are recommended for operations.detection of defects in relation to specific metals and alloys. However, in such situations, one should rely on the requirements of GOST, but in another section - 19521-74.
What defects are detected?
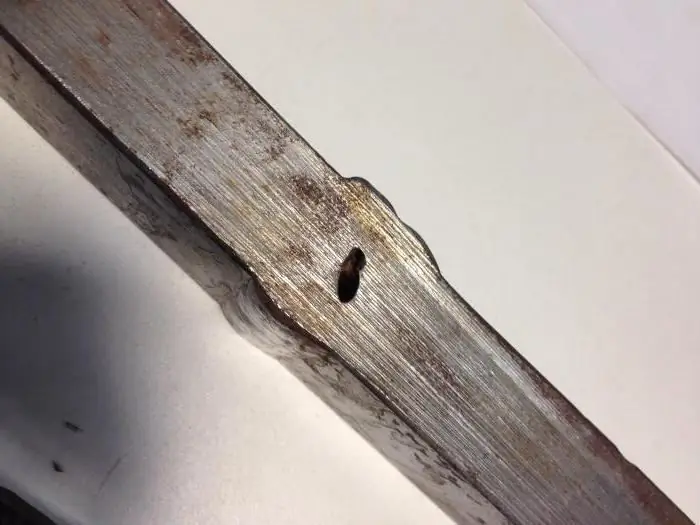
There are several groups of defects that help to detect non-destructive testing technologies. At the basic level, superficial flaws in the seam are revealed. Such deviations from the norm can be fixed already during an external examination, even without the use of special equipment. For example, external non-destructive testing of welded joints helps to fix areas of discontinuities that come to the surface. Internal defects cannot be detected without the appropriate technical means. It determines the shape of the seam, its characteristics and the degree of reliability.
At the same time, the presence of a defect as such does not always indicate the unsuitability of a structure or product for further use for its intended purpose. Again, according to the regulations, the weld may have critical and insignificant deviations. The task of control is precisely to detect critical defects, which are defined as inconsistent with the requirements for the operation of the material.
Equipment for acoustic testing method
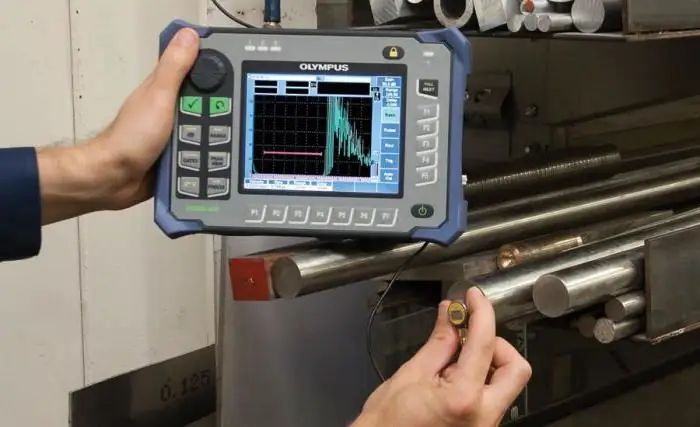
This method of checking structures for defects in welds is one of the most technologically advanced, accurate and efficient. Compared to other modern control techniques, it also stands out for its versatility. It can beuse both indoors and in the field without power supply. The test involves an ultrasonic flaw detector, which consists of several functional modules. In particular, this non-destructive testing of welded joints involves the use of piezoelectric transducers, which contain hardware components for receiving and scattering ultrasonic waves. The device generates pulses of ultrasonic vibrations, and also receives reflected signals, which are presented to the operator in a form convenient for analysis. By examining the amplitude of the signals, the user of the equipment determines the parameters of the defects.
Equipment for radiation monitoring
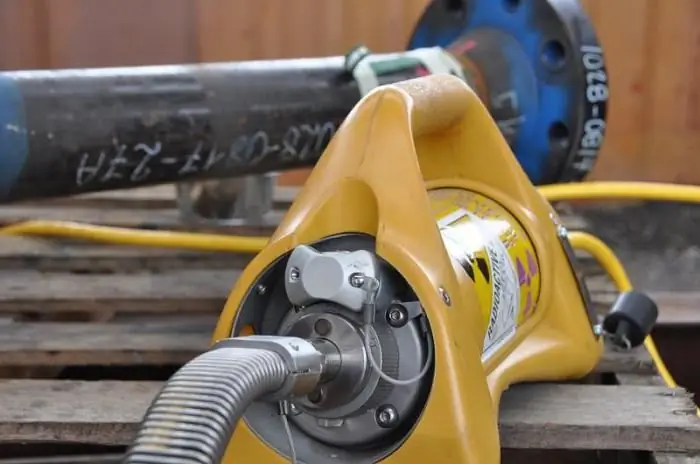
This technique is called radiation flaw detection of welded joints. The very principle of research is based on the supply of ionizing radiation. As the rays pass through the seam, their intensity decreases depending on the thickness and density of the material. The ongoing changes in the radiation parameters allow the operator to determine the presence of discontinuities in the thickness of the joint. In the implementation of this operation, various sources of x-ray radiation are used. The most common equipment for non-destructive testing of welded joints of this type is in the form of electron accelerators and gamma flaw detectors. These devices are combined with the ability to work with radioisotope radiation. Russian manufacturers of X-ray machines for testing welded joints produce equipment that provides the ability to control the energy range of photon radiation on average from 15 keV to 30MeV.
Heat Control Equipment
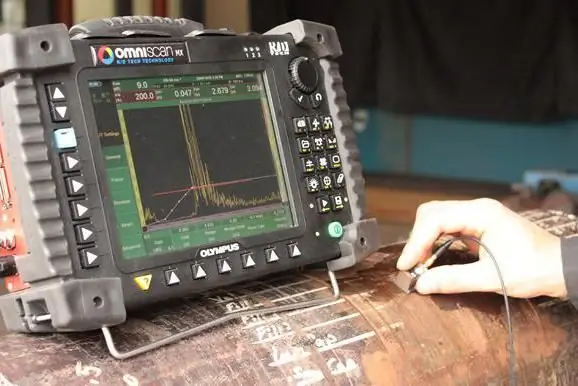
Evaluation of weld quality through thermal scanning allows you to work with a wide range of alloys used in both industrial and construction industries. As for the detected defects, thermal analysis reveals hidden cavities, cracks, areas of lack of penetration, foreign inclusions, etc. The radiometer directly heats and registers suspicious zones. This is a device that implements non-destructive testing of welded joints of metal structures over the entire area. During the analysis, the operator checks both the underlying undeformed structure and the joint. By comparing intact areas and seams, the reliability of the structure is determined. Today there are different directions of this method. In particular, the vibrothermal imaging method provides for the analysis of vibrations during the transfer of energy to an object.
Electrical Control Equipment
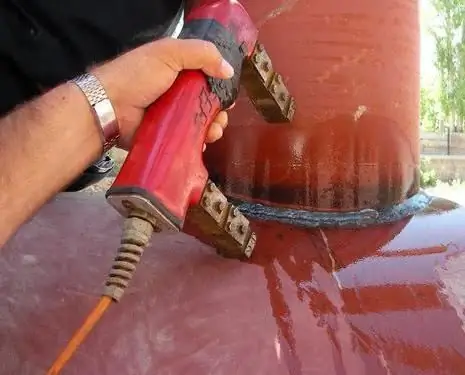
The formation of an electric field around the object under study also allows you to determine the characteristics of the internal structure of the structure at the connection points. To apply this method, various types of electrical capacitive transducers are used. For example, overhead systems are characterized by a high heterogeneity of the electrostatic field they form. This property is useful in that the operator captures vibrations against the background of high sensitivity in the supply of return pulses from the material. Electrical non-destructive quality control of welded joints in linear-broaching structures involves through-through transducers. Such equipment, in particular, is used in assessing the quality of welds made on wire, metal tapes, rods, etc. Depending on the electrodes, different current supply schemes can be used.
Apparatus for capillary control
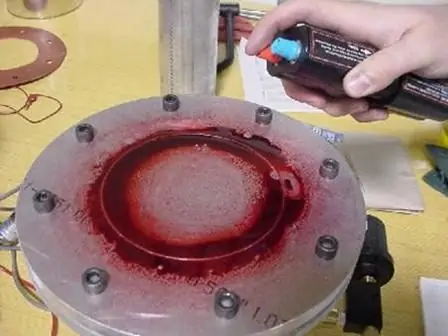
This is an extensive set of methods that are aimed at detecting and determining the parameters of internal defects. Capillary flaw detectors are used as working equipment. They record the characteristics of the same cavities, their structure, direction, depth and spatial arrangement. However, their function is impossible without the use of penetrants. These are liquid or bulk substances, which, if possible, are introduced into the seam and spread through its internal cavities. Capillary methods of non-destructive testing of welded joints involve the use of penetrants with different characteristics. These are a kind of developers that provide information about the structure of the joint to capillary flaw detectors. There are substances that are activated by ultrasonic, magnetic, color and other pulses. Some compositions have a pronounced chemical activity, therefore, immediately after the control is performed, it is necessary to treat the seams with so-called extinguishers. They exclude the negative effect of capillary penetrants on the material of the object, which allows us to classify this method as non-destructive.
Leak detection in the seam ascontrol method
This technique is largely related to the principles of the previous control technology, but has several significant differences. If the capillary method is focused on accurately determining the parameters of internal cavities, then leak detection aims to find areas in principle where the tightness is broken. In this case, the welding seam can be checked not only with liquid substances, but also with air and gas mixtures. Often this method is used before capillary technique, because the leak detection itself only registers the fact of leakage in the joint, but does not provide information about the characteristics of defects.
How is the best control method chosen?
Specialists start from the tasks that need to be done with the help of control. For example, if we are talking about a surface check, then the mentioned leak detection technology or experienced visual inspection can be dispensed with. For deeper and more accurate analysis, ultrasonic, electrical and X-ray machines are used. Further, it is taken into account how effective one or another non-destructive testing of welded joints can be when implemented under specific conditions. So, the ultrasound technique can be used in almost any conditions, but it is more expensive. The electrical method for scanning defects is more affordable, but can only be used with a stable current source.
Conclusion
Control of seams in jointsmetal structures is the most important reliability check operation. Subject to positive test results, you can use the product or design for its intended purpose. In addition, non-destructive testing of welded joints can provide information about old operated objects. Over time, even high-quality seams are subject to wear, so checking should be done regularly. After it, and based on the results of the analysis, a conclusion is given on the technical condition of the structure. Based on this document, the responsible engineer makes a decision either to eliminate defects, or to allow the object for further use.
Recommended:
Welding seams: types of seams and joints
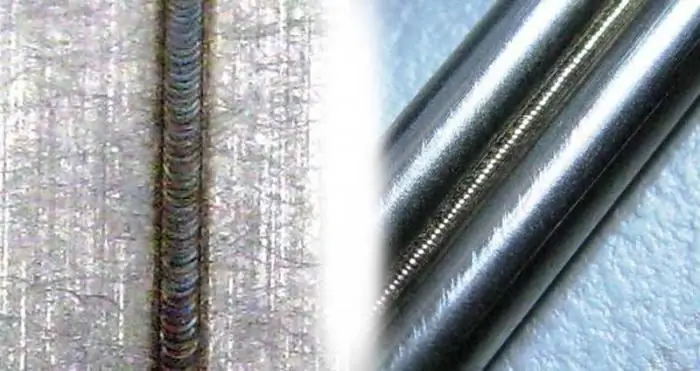
In the process of welding, various connections are obtained. Welding seams are able to connect not only metals, but also other dissimilar materials. They are classified according to several criteria: method of execution, spatial position, length, etc
What is radiographic testing? Radiographic control of welds. Radiographic control: GOST
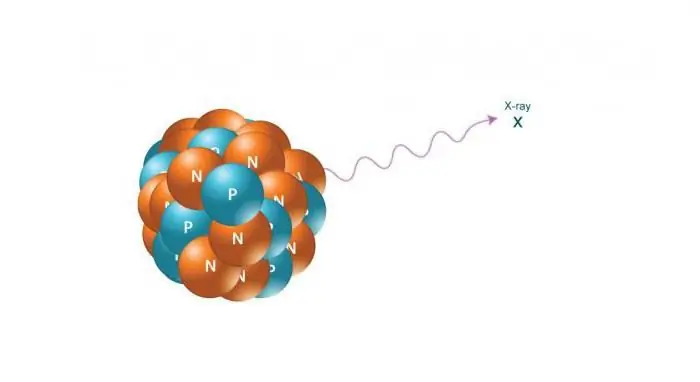
Physical bases of radiation control methods. Features of radiographic control. The main stages of radiographic control of welds. Safety precautions in the production of radiographic control. Normative and technical documentation
Ultrasonic testing of welded joints, methods and technology of testing
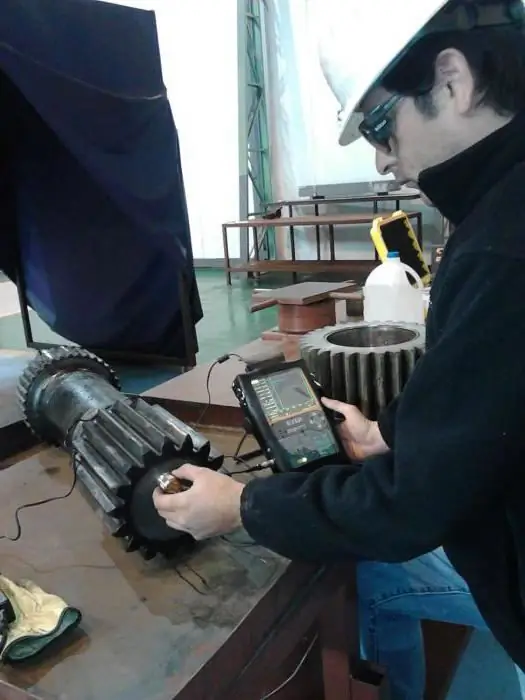
Ultrasonic testing - advanced technology for the study of welding joints and seams. It will be discussed in this article
Welded butt joints: features, types and technology
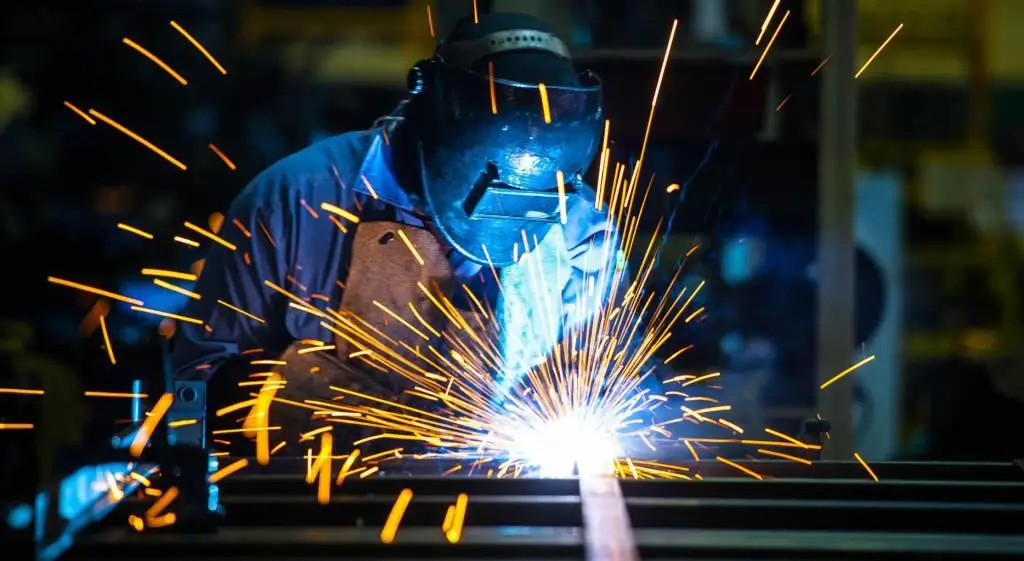
Features and types of welding. Classification of welded butt joints according to various parameters of the weld. Technology for creating a butt joint, depending on the equipment used. Safety measures when performing welding work
How is longitudinal electric welded steel pipe produced?
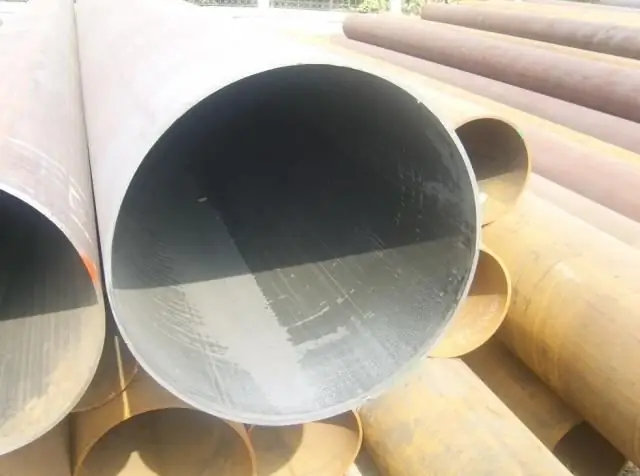
Where is the longitudinal electric welded steel pipe used today? This is a product that in modern conditions is widely used in various industries

