2026 Author: Howard Calhoun | calhoun@techconfronts.com. Last modified: 2025-01-24 13:10:43
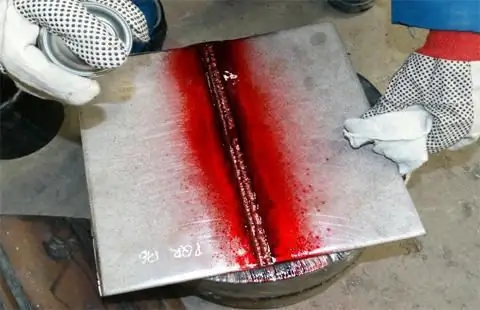
The quality of welding is determined by how strong the seam is. At the same time, connection control must be non-destructive, which forces the masters to turn to special verification methods after the operation is completed. In some cases, external inspection without instruments is also allowed, but in the case of critical structures, visual inspection cannot be limited. It can be supplemented by color flaw detection of welds - one of the most effective, convenient and reliable methods for analyzing such joints.
Features of the verification method
This method of checking welds refers to capillary, but focuses solely on external troubleshooting. That is, it cannot be used to check the internal structure of the joint zone, in contrast, for example, to ultrasonic flaw detection. Typically, metals prone to cracking are subjected to such testing. In addition, color control allows you to effectively identify discontinuities that come to the surface.
As for the principle of verification, it is based on the sensitivity of metals to interaction with non-defectoscopic non-ferrous materials. Contrary to popular belief, analysis ascontrolled information does not use the characteristics of the surface of the workpiece, but changes provoked by irritating the structure with chemicals. The method of color flaw detection is based on the processes of chemical exposure, which allows you to process information about changes and provide data on the identified metal flaws at the output.
The method itself is rarely used alone. Usually it is used in the general verification complex - together with ultrasonic. Color analysis follows first, followed by ultrasonic testing.

Applied materials
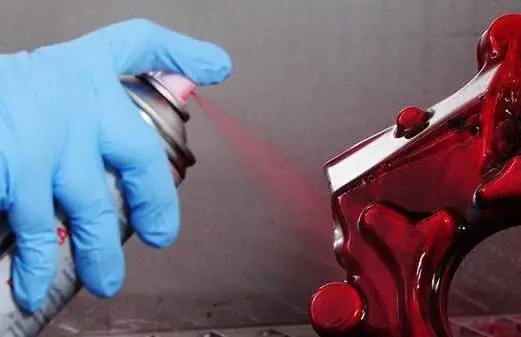
As already mentioned, flaw detection is not complete without the use of special chemicals. The standard kit for color flaw detection includes three types of components: indicator penetrant, cleaning agent and developer. That is, the color sensitivity control will be activated by three-stage processing of the working area. Special materials are used at each stage.
Penetrants are, in fact, coloring substances that can be presented in different forms. Powder products are also used, but additional operations of thermal action or mixing with liquids must be introduced for their use. Penetrants suitable for a particular metal for non-ferrous flaw detection are selected based on several performance properties. It takes into account, in particular, fire resistance, environmental friendliness and toxicity, the elimination of the need for subsequent stripping, etc.
Requirements forplace of control
The flaw detection operation can only be carried out in a specially prepared room. It is important to take into account the requirements for the communication equipment of the place, for air characteristics, technical support, etc. The room must be ventilated, have no sources of open flame or intense heat. Lighting should be general and local, lamps close to the operation site should be protected from thermal effects.
You should initially take care of creating an optimal microclimate - only in favorable conditions can high-quality color flaw detection be carried out. GOST 18442-80, in particular, indicates that the air must be dry and warm - if necessary, to achieve these characteristics, you can use an infrared heater that will dry the developer at a level of 5 ° C. The technical equipment will depend on the methods of applying chemical components. In particular, spray guns, aerosol cans, brushes, etc. can be used to apply the same penetrant.
Preparing the base seam
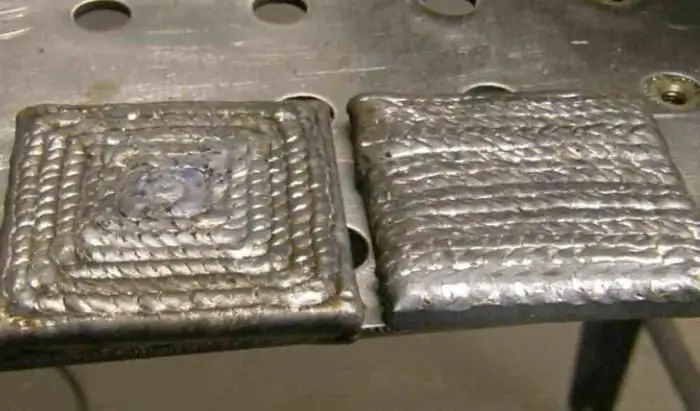
The connection section is also being prepared for the flaw detection operation. If there are pronounced roughness or contamination on the surface, then you can use fine-grained material and make light processing. Next is degreasing. For this task, one of the components of the flaw detection kit can be used, but it is important that it provides the degreasing effect, and even better, increasescontrol sensitivity. It is not recommended to use kerosene for such purposes, but gasoline and acetone can be used. If there is no ventilation in the room, then degreasing is carried out only with aqueous solutions based on powdered synthetic agents of low concentration. If color flaw detection of a small part is planned, then full immersion in a degreasing composition can also be used. In other cases, either the technique of spraying onto the target area, or application with a rag soaked in solution is used.
Apply penetrant
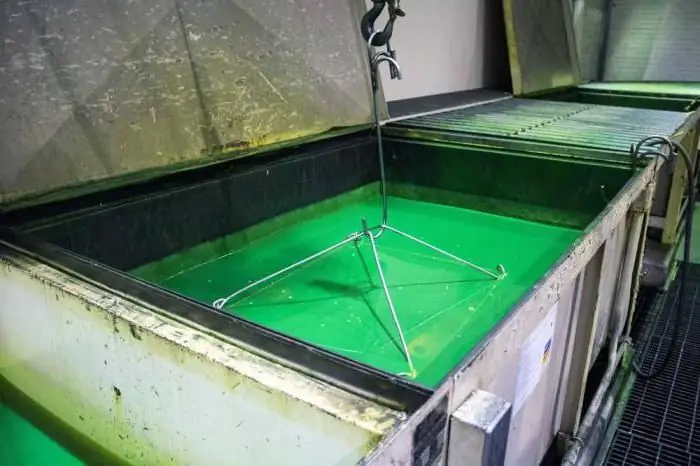
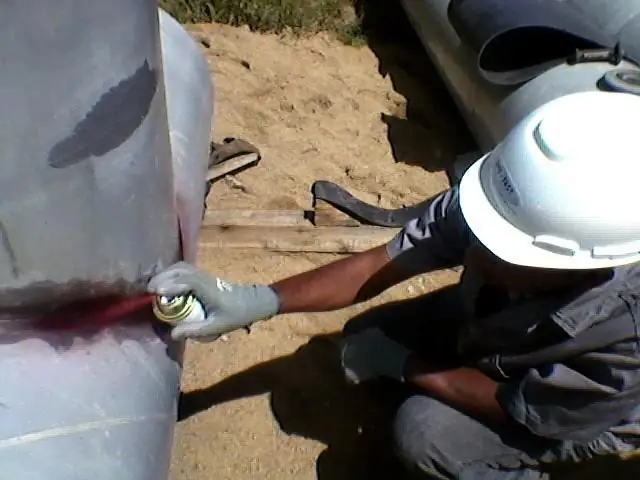
First of all, indicator penetrant is applied. As with degreasing, this procedure can be carried out by spraying, dipping or brushing, depending on the characteristics of the workpiece. Moreover, the application should be carried out in several layers (4-6) and so that each previous layer of the composition does not have time to dry. Also, in order for color flaw detection of welds to show an optimally accurate result, each subsequent layer must cover a larger area relative to the previous one. This is due to the fact that each new layer will dissolve the contour of the previous spot, preventing sharp transitions and sagging, which can be perceived as false cracks. If the operation is performed under conditions of negative temperature, then the penetrant itself must have a state of about 15 ° C.
Penetrant removal
Immediately after application, the indicator film should be removed using a clean tissue or cloth free of roughpile. The material must first be moistened with ethyl alcohol and the surface cleaned until the coating is completely eliminated. Problems can arise if work is carried out on the surface of a rough metal - in this case, it makes sense to use light abrasives. Next, an oil-kerosene mixture is applied. It covers the entire target area, and then also removed with rags or napkins. During the two stages described, color flaw detection should keep the surface clean and dry around the seam. This is important to maintain the accuracy of further control procedures.
Apply developer
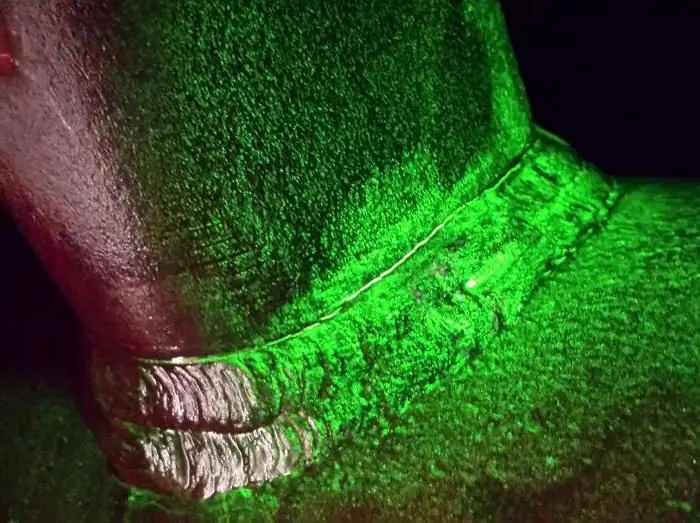
As with indicator layers and cleaners, developer is applied in a variety of ways, from brushes to spray guns. The main thing at this stage is to maintain the uniformity and solidity of the formed coating. Therefore, it is necessary to carefully check the spray tools, nozzles and other elements of the devices that affect the quality of delivery of the product to the target site. All this will further affect the control of color flaw detection, as well as the quality of subsequent verification operations. Drying is carried out after applying the developer. It may not be performed, waiting for polymerization in natural conditions, but to speed up the process, the use of low-power spot heaters is allowed.
Inspection of the controlled area
When the developer is dry, you can prepare to inspect it by waiting another 30 minutes or so. Further control by the method of color flaw detection involves the use of a magnifying glass,providing a minimum of 5x magnification. If the layer-by-layer technique is used, the test can be carried out as early as 2 minutes after processing with the developer.
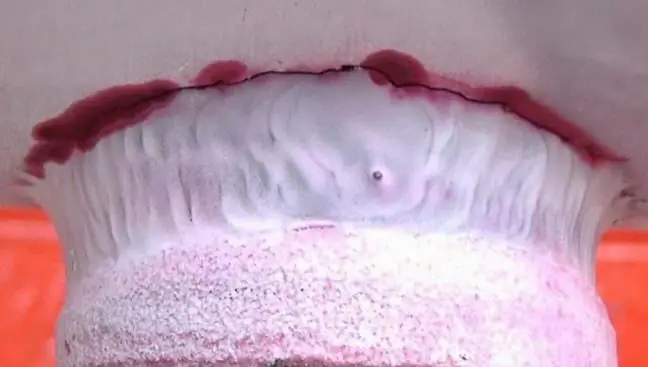
During the evaluation process, the operator captures the characteristics of the stain left - in particular, logs the dimensions of the contours, shape, etc. The main task of color flaw detection is to detect surface flaws that clearly manifest themselves after completion procedures. Both mechanical damage and traces of corrosive attack, as well as cracks with excessive sagging can be identified.
Safety in flaw detection
Requirements for safety measures are due to the threat of fire and explosion during flaw detection. Therefore, it is necessary at least to prepare overalls, including a cotton robe, a headdress and rubber gloves, the surface of which must be coated with talcum powder. On the site itself, security measures must be fully observed. During the procedure, there should be no open sources of fire or sparks. If color penetrant testing is performed regularly in the same room, appropriate no-smoking and fire protection signs must be installed. Rags, wipes and flammable products should be stored in a fireproof container.
Conclusion
It would be wrong to consider this method of assessing the quality of a weldas optimal, choosing it from the general range of other methods. This is a specially directed method of examination, which is focused specifically on the analysis of the surface of the workpiece. That is, color flaw detection is not a comprehensive control measure, but provides information about external flaws with relatively high efficiency. If this method is supplemented with other methods for studying the internal structure of the weld, then complete information about the structure of the metal can be obtained. Further, a decision is already made on the possible correction of the identified defects. In some cases, secondary welding is performed - this will depend on the number and significance of defects in terms of affecting the strength of the workpiece structure. Sometimes troubleshooting of this type is also used to analyze the structure of old seams and joints in operated structures.
Recommended:
Visual control of welds: the essence of the conduct and step-by-step procedure
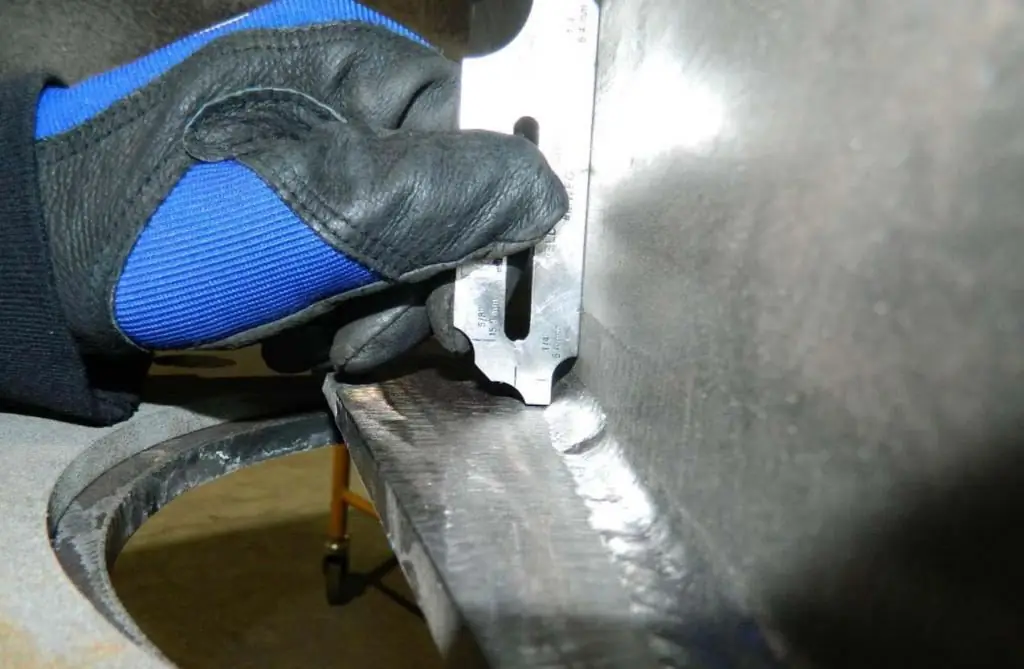
Completely eliminate the risk of low-quality connections do not allow even automatic and robotic welding machines. Therefore, regardless of the applied technology for the production of welding operations, after its execution, a procedure for a comprehensive check of the quality of the welds is implemented. The visual inspection method is the initial stage in the overall process of welding troubleshooting
Brown horse color: description, history, characteristics and interesting facts

Where did the name of the horse's color come from. The history of the appearance of the breed and some interesting facts. The main varieties of buckskin horses. Various descriptions of the appearance and characteristics of buckskin horses. The history of buckskin horses in culture. Confusion with other breeds
Italian geese: description of the species, features of care, reproduction, characteristic features, rules of keeping and profitability

Geese breeding is a great way to earn money for a farmer. They are unpretentious in care, quickly gain weight and are in demand among the population. White Italian geese will not only bring a good income, but also decorate the courtyard with their appearance. Birds adapt well to different conditions of detention, they can be bred in any climatic zone. Italian geese - a godsend for an enterprising farmer
Magnetic flaw detectors: device and application. Unbrakable control
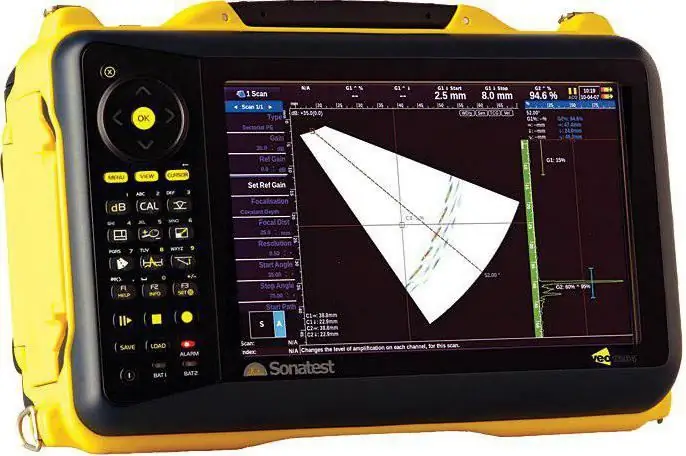
The article is devoted to magnetic flaw detectors. The device of devices, varieties, as well as the technology of application are considered
Rabbits of the Strokach breed: description of the species, features of care, reproduction, characteristic features of the breed and rules of keeping

If someone has a goal to breed rabbits of the Strokach breed, then it is necessary to remember that it is best to have only the strongest and best individuals of the German breed. When grown at home, many farmers do not always succeed in breeding a pure breed, as some individuals are variegated or get sick

