2026 Author: Howard Calhoun | calhoun@techconfronts.com. Last modified: 2025-01-24 13:10:41
When breeding laying hens at home, questions arise about how best to organize the feeding of birds so that feed loss is minimized. Making chicken feeders with your own hands is not difficult, you just need to choose the right materials for the product.

A chicken feeder is made of plywood in the following sequence. First, sheets for vertical walls are cut. We make them tall. A high feeder for chickens allows you to fill in compound feed or grain once for several days, so as not to return to filling them for some time. So that the feed does not get stuck at the exit, a sheet of plywood is installed at the bottom of the do-it-yourself chicken feeder with a slight slope towards the front. With this setup, the bulk material will roll towards the front and become accessible to the birds. As a result of experiments to determine the optimal angle of installation of inclined plywood, it was found that a slope of 20-25 o is most suitable for granulated mixed fodder. If it is supposed to be fed with grain, then the angle of inclination can be slightly reduced, it is enough to have it equal to 12-15 o.

In order for chickens to peck food, you need to create a small platform in front of the feeder, bounded by planks. Such an installation will not allow chickens to scatter food, climb into it with their paws. It will always be available for pecking. The height of the front side should be 50-65 mm. Side skirts can be made one and a half to two times higher, about 80-120 mm. Such fences provide access, but do not allow the bird to climb into the chicken feeders with its paws. The front wall is also sawn out with his own hands, which will complete the overall formation of the fixture.
As noted earlier, in order to reduce the time spent on serving chickens, you need to create a significant amount of feed in the feeder. Therefore, you can increase the height of the feeder itself to 900-975 mm. At this height, it is not difficult to pour food with a regular bucket.
In order for the feeder to serve longer, it must be protected from environmental influences. Antiseptic treatment will prevent rotting. It is desirable to perform such impregnation before the final assembly of the chicken feeder. Do-it-yourself impregnation can be done using an airbrush. Then the process will take a little time. Can be applied with a roller or brush.
Painting with acrylic paint will give the chicken feeder a finished look. With your own hands, using self-tapping screws and a screwdriver, it is not difficult to assemble the product. The heads of the self-tapping screws must be coated with a primer, and then also painted over with acrylic paint.

In addition to the feeder in the area where poultry is kept, you definitely needdrinker for chickens. The most widely used vacuum drinkers are easy to use. For their manufacture, deep plates are used, in which five-liter bottles of water can be installed. In order for the liquid level to be at least 20-35 mm, you need to place a small plate of the desired height under the cork with holes. The container is fixed with a wire.
Recommended:
Quail food: composition, norm, recipe and price. How to make quail food with your own hands?
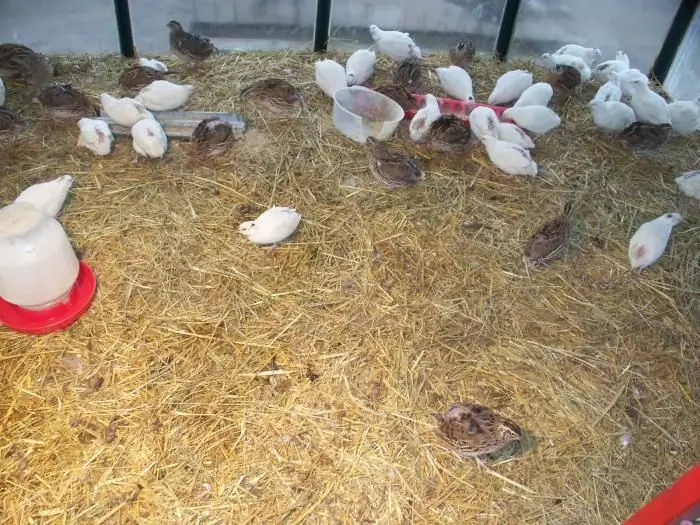
Own home garden for many has become a symbol of their own vegetables and fruits, which allow you to diversify your table with fresh and environmentally friendly products. Some breed chickens, geese and ducks in order to provide themselves with meat
Ferrite ring - what is it? How to make a ferrite ring with your own hands?
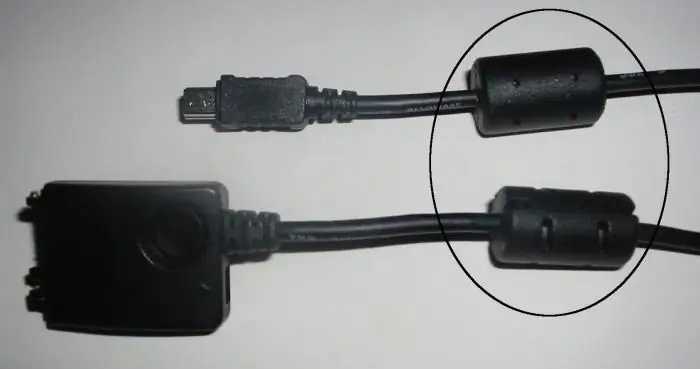
Each of us has seen small cylinders on power cords or on cables for matching electronic devices. They can be found on the most common computer systems in the office and at home, at the ends of the wires that connect the system unit to the keyboard, mouse, monitor, printer, scanner, etc. This element is called the "ferrite ring". In this article, we will look at the purpose for which manufacturers of computer and high-frequency equipment equip their cable products with these elements
How to make a substrate for oyster mushrooms with your own hands at home
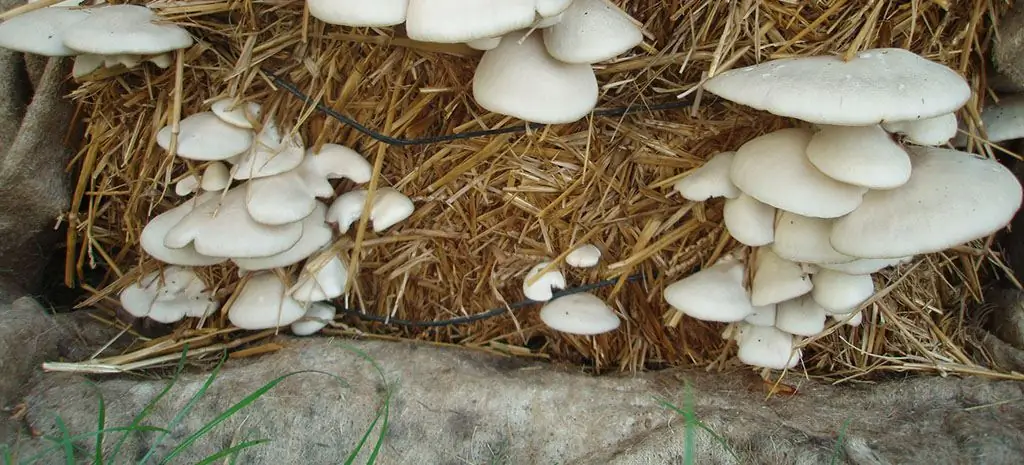
Growing mushrooms at home allows you to harvest all year round and earn extra income. You can grow these plants in any room where you can create an optimal microclimate. To get a good harvest, it is necessary to prepare the mycelium and substrate for oyster mushrooms and other types of mushrooms
How to make a cage for rabbits with your own hands: dimensions, photos
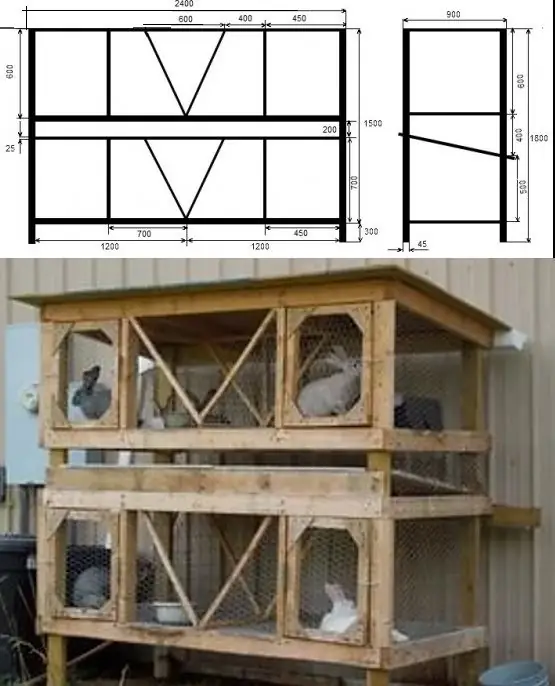
Cages for rabbits should be large and safe for the animals themselves. The frame of this design is easiest to make from a bar. For sheathing cells, most often use a regular chain-link mesh
Dry cleaning the car interior with your own hands: useful tips

Personal transport has long ceased to be a simple means of transportation. It is an indicator of status. For this reason, any car owner strives to keep the "iron horse" in perfect condition. That's what we'll talk about next

